Homelab is alive!
First steps
Many of you probably think of large server racks or other very expensive equipment when one brings up homelabs. A cursory look at the r/homelab community on Reddit (well, at least some of the posts) is enough to get the impression that homelabbers continuously try to outrun each other in the race towards building a home data center.
Yet, for a beginner building their first homelab ever, it does not make much sense to invest too much money in expensive devices upfront. Actually, it often does not make sense to invest anything at all! Your first homelab can be any computer: an old laptop lying in a closet, an old mini PC or a retired gaming desktop machine. Just look around, ask your family members or friends. Everyone has... well, something that can be used.
Restoring an old Thinkpad
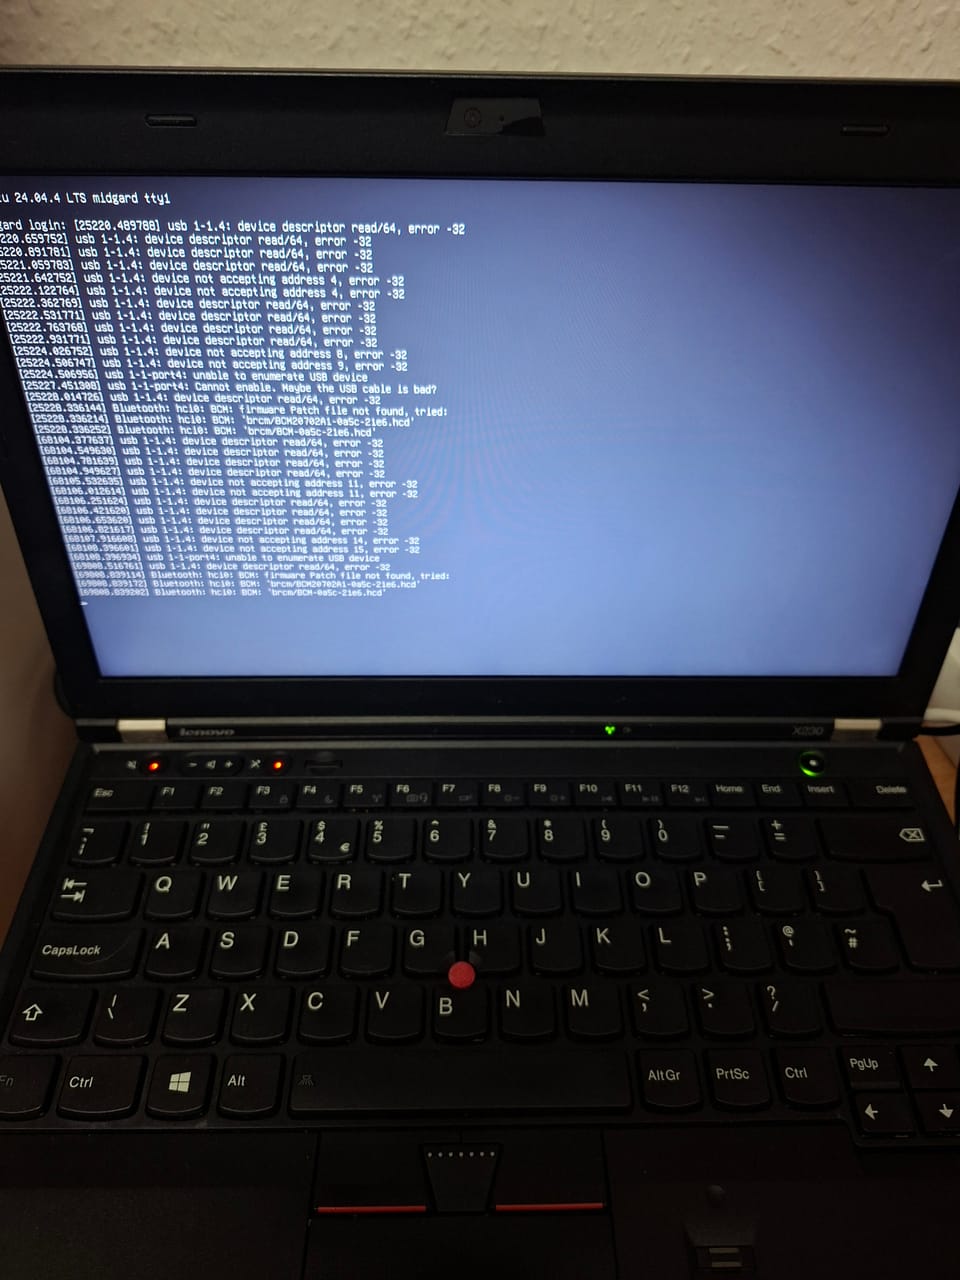
For me, the old computer that I decided to use as my first homelab was the incredible, immortal, and impeccable... Lenovo ThinkPad X230. A ThinkPad which ages ago, I bought refurbished with SSD to put (desktop) Linux on it and learn. It fulfilled this role for some time, but I generally prefer bigger screens, and productive work with such a small one is a nuisance. Now, the time has come to give it a new lease of life.
What does this particular machine have that is relevant to our objectives? Luckily, it has an SSD (installed by the refurbisher), which is a huuuuge upgrade. The battery is almost dead, it lasts several minutes without charging. It's bad, but not critical, since home servers need to be plugged in all the time anyway. It also has an outdated 3rd gen processor and 8GB of RAM. It's not much... but is it enough to have fun? Let's see.
OS and Docker
In the first step, I took my Ventoy USB and installed Ubuntu Server 24 on the ThinkPad. Why this choice for now? Well, for learning purposes, installing a base OS on bare metal may be the most sensible choice. But with these specs at my disposal, engaging in any kinds of virtualization would be bound to fail anyway. Therefore, Proxmox needs to wait until the homelab grows enough to accommodate it. And Linux skills will always be useful no matter what.
What I installed next is Docker. An indispensable tool for self-hosting services, and an industry standard nowadays. Will serve us well, but before we deploy our first software, there are some other urgent issues...
Can a laptop actually be a server?
What do you need to remember about when you want to use a laptop as a home server? We need to keep in mind that they were not designed for this purpose: laptops are not servers, even though we can try to push them to their limits and use them for this purpose. However, laptops have several quirks and limitations which should be taken care of when you prepare them for this fate.
The lid
Normally when you close the lid, your laptop goes to sleep, to hibernation mode, or at least locks the screen - it depends. But if it is expected to run as a server, we need a way of preventing it from happening. This is perfectly possible on a Linux machine. First, you need to open the login config file in your favourite text editor (I use Vim, but if you like nano, go for it):
sudo vim /etc/systemd/logind.confThen, in body of the config file, find the following entries and set their values to `ignore`:
HandleLidSwitch=ignore
HandleLidSwitchExternalPower=ignore
HandleLidSwitchDocked=ignore
Finally, for the changes to take place, restart the login service:
sudo systemctl restart systemd-logindThat should be enough to make sure that closing your lid won't interrupt server activity.
The battery
For the sake of safety, it is not advisable to keep your battery fully charged, especially if it remains plugged into the power. Can we actually control the battery level from outside? Well, yes - this is what https://linrunner.de/tlp/index.html is for!
First, install TLP and other necessary tools:
sudo apt update && sudo apt install -y tlp tp-smapi-dkms acpi-call-dkmsThen, open the TLP config file:
sudo vim /etc/tlp.confWithin the file, find the entries START_CHARGE_THRESH_BAT0 and STOP_CHARGE_THRESH_BAT0 and set them to 40 and 50 respectively. This will make sure that the battery level never exceeds 50%.
# Battery charge level below which charging will begin.
START_CHARGE_THRESH_BAT0=40
# Battery charge level above which charging will stop.
STOP_CHARGE_THRESH_BAT0=50
To apply your changes, start TLP:
sudo tlp startAll set! Now, to check the current battery status and the thresholds which you set, you may run the following command:
sudo tlp-stat -bThat's it! With these steps, my old ThinkPad X230 is ready to start serving as my first homelab server. How cool is that?
In the posts to come, I will document every next step in the journey. This is just the beginning... Stay tuned!
Comments ()